If you’ve ever considered trying to set up a Bitcoin node or a Lightning node, but found the process too intimidating, you’re not alone. We’d like to help.
Under the hood, Bitcoin is composed of a network of full nodes, which thousands of people around the world run on computers. Bitcoin is an anomaly in the financial world. Bitcoin has no one king with a jeweled scepter or company with a profit motive in charge. These nodes are a crucial piece of ensuring that Bitcoin remains decentralized and secure.
Each node stores a record of every bitcoin transaction ever sent. With this knowledge, the node can independently verify that new transactions are valid – that the person sending the transaction owns the bitcoin they say they own.
On top of this, Bitcoin’s Lightning network is one of the more promising technologies in the space, pushing bitcoin transactions to a new level of scale and speed. Luckily, for tinkerers who like having extra control of their money, running the mysterious infrastructure underlying it can be a short weekend project.
In this article, we’ll walk through how to set up a Bitcoin node as well as a Lightning node, using RaspiBlitz, created by developer Christian Rotzoll and supported by the German-based Bitcoin startup Fulmo, which also hosts Lightning network hackathons around the world.
Why set up and run a Bitcoin node?
Why, you ask, should I run one of these gizmos?
Not only is it a mind-expanding experience that contributes to the health of the Bitcoin network, but it benefits the user running the node as well.
One of the key advantages of Bitcoin is that users don’t have to trust an intermediary bank such as Wells Fargo to hold their money or to make payments.
“Not your Node, Not your Rules,” as the RaspiBlitz instructions put it.
Along those lines, running a node is a key part of being financially self sovereign. Users running these nodes can rely on them to be correct. They don’t have to trust anyone else with this information, such as a malicious actor that might want to provide a user with incorrect information. If a user accepts bitcoin payments, but does not run their own node, they’re trusting information about the payment from somebody else’s node. This data can be spoofed.
Not your Node, Not your Rules!
Bitcoin developers think that running these nodes are so important, in fact, that many have dedicated their careers to make them as easy to run as possible.
“Why would you want to use someone else’s computer as the source of truth?” Bitcoin entrepreneur Chimezie Chuza argued.
Then there are Lightning nodes, which run on top of this Bitcoin full node as a second layer for speedier payments. These nodes connect users to the Lightning network for speedier payments with lower fees (which is especially useful when they bounce up from time to time). The network is still experimental and new, but plenty of users and developers are throwing caution to the wind out of enthusiasm for Bitcoin and are using it anyway.
What we’re going to do in this article is set up not just a Bitcoin node – with the help of RaspiBlitz, we’re also going to install a Lightning node.
The equipment
RaspiBlitz is specialized software that will automate many of the steps that go into creating our node, helping users to build their own. Once the node is all set up, the RaspiBlitz software will pull up a graphical interface for using the node – for making payments with it, for instance. Finally, RaspiBlitz also offers a set of detailed instructions, which we’re going to follow in this article to get our Bitcoin and Lighting nodes up and running.
The first step in building any Bitcoin node is to buy the equipment. Fulmo offers a package of this equipment for 269 euros (worth about $322 at time of writing).
However, users can opt to buy their own pieces instead. The RaspiBlitz instructions suggest that users purchase the following:
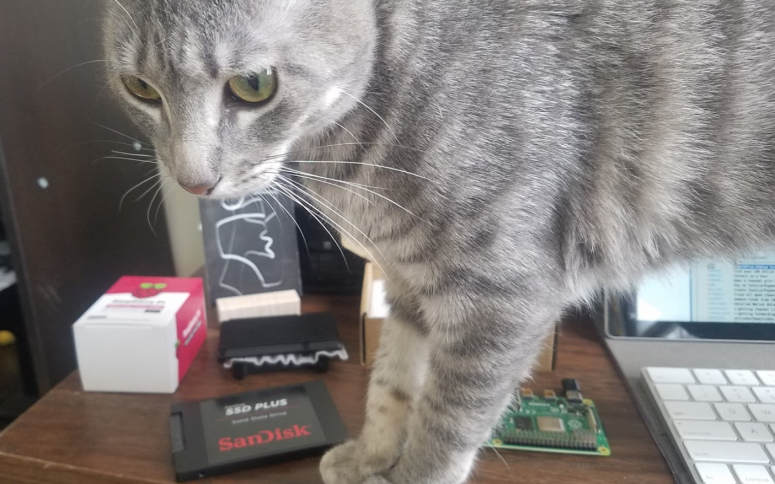
- A Raspberry Pi ($66 for version 4): This is a pocket-sized computer that powers the Lightning node. (Computers have certainly evolved since the ENIAC, which weighed 50 tons, about 10 times as much as an elephant.)
- Power supply: USB-C, 5V, >=3A ($10)
- Storage: A MicroSD card (~$10) for holding the RaspiBlitz software and a 1 terabyte SSD hard drive (~$100) for storing all the Bitcoin data. (Spoiler alert: There’s a lot of data. And it’ll grow if a node is up and running for long.)
- Protective gear: A case ($10) for the SSD will keep the data safe from bumps. A heatsink case ($15) for the Raspberry Pi will keep it from overheating.
- An LCD screen 3.5″ RPi Display, GPIO connection, XPT2046 Touch Controller ($25): Once it’s set up, this screen will show a little bit about the node, including the address it uses to connect to other nodes. This is a key piece that sets RaspiBlitz apart from other Lightning nodes.

These nodes are powerful in terms of validating transactions, but they’re also physically fragile.
The initial instructions involve equipping the node with protective gear so that it doesn’t break – it’s a newborn baby Bitcoin node after all!
The more processing a Raspberry Pi does, the more likely it is to overheat, which can cause permanent damage to the hardware. Thus, keeping it cool is essential.
RaspiBlitz’s instructions recommend wrapping your Pi in a heatsink case that will soak up the heat.

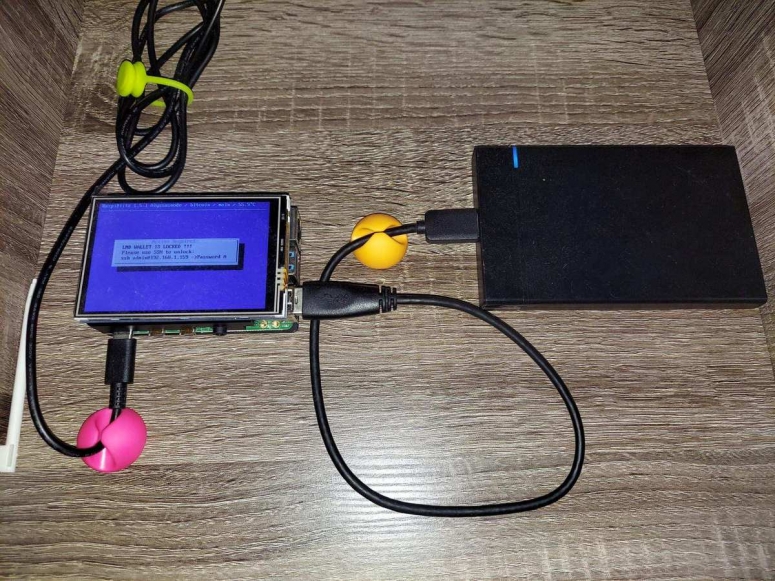
Add the case to the hard drive for protection. Plug in the external hard drive which will store all the Bitcoin data. Then plug in the LCD screen on top.
The outer shell for the node is ready. But it’s not quite alive yet.
Waking up your Bitcoin node
Now it’s time to install all the necessary software.
First, the node needs to be loaded with official RaspiBlitz software, which has all the node options that’ll show up on the display at the end. This needs to be written to the SD card, a tiny square memory card (about the size of a kidney bean) which RaspiBlitz explains how to do in detail in the instructions.
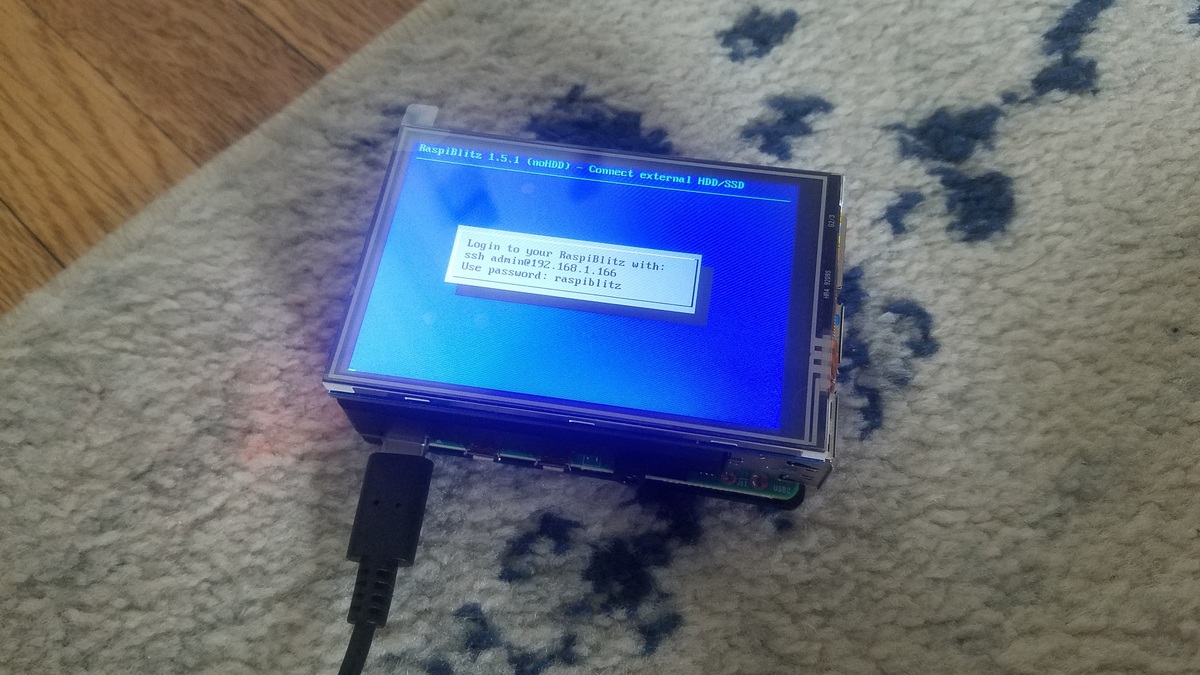
With that done, once the power supply is inserted, the Pi will boot up like this!

Now, let’s control the Raspberry Pi with the help of RaspiBlitz’s program.
But how? It’s a device without a keyboard or a mouse.
It’s possible to control a Pi from afar using Secure Shell (SSH). With SSH, it’s possible to link up to the Pi – even from a detached laptop in the other room – and send commands to get it to do what you want, like any normal computer.
This is accomplished through the command line, a techie way of controlling a computer by sending text commands.
Don’t be intimidated here if you’re not a developer. You only need to use the command line for one command. To use SSH, navigate to the command line on your computer. (Find a tutorial for your operating system if you’re not sure where that is. Here’s one for Windows, one for Mac OS, and one for Ubuntu.)
With the RaspiBlitz software loaded, a command will show up on your Raspberry Pi, something like:
ssh admin@192.168.1.3
Insert the command into the command line.
With that, we now have the power of telekinesis, sort of.
One started up, the RaspiBlitz will move through a series of steps to set up the RaspiBlitz. Creating passwords, each controlling different aspects of the node, might be the most important step of all. Be sure to write down and not lose these passwords, especially if you are storing any bitcoin funds on the node.
Almost there – time to sync
Now that the setup process is squared away, it is time to sync the node. In other words, it’s time to get the node caught up so that it can communicate with other nodes in the Bitcoin network.
Each node stores and executes the rules guiding Bitcoin and records every bitcoin transaction in its history. This is at least 657,000 blocks filled with transactions, so it will take some time to download.
It’s a lot, but it’s all in the name of trustlessness. With a full node, you don’t have to trust anyone else with this information. Knowing the entire history of the blockchain, a user who runs a node cannot be fooled into thinking they received money that they didn’t, for example.
Four or so hours later… It’s alive!

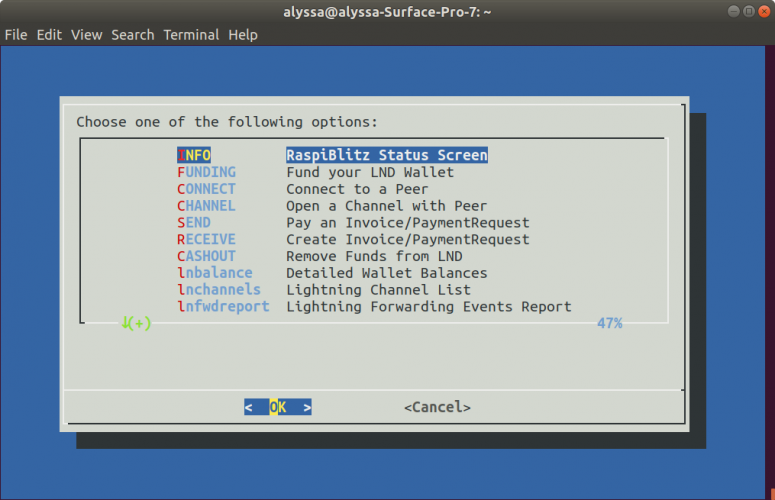
Now what? The RaspiBlitz has a whole array of options to tinker with. If you log into your Raspberry Pi (with SSH again on your computer), a graphical screen will pop up on your computer:

Here are a few examples of what you can do with a running RaspiBlitz:
- Set up a Lightning wallet: FormakingLightningpayments. Keep in mind that the Lightning software is still experimental. Developers recommend testing this only with small amounts of bitcoin.
- Use the node to secure payments: Connect your node to a Bitcoin wallet. That way, it’s easier to validate personal transactions, a big benefit of the node. So far, RaspiBlitz connects to Lightning wallets like Zeus and Zap.
- Routing payments: Some Bitcoin Lightning enthusiasts have built out their nodes to be so-called “routing nodes,” which help to pass Lightning payments across the network, and can earn their owners a few sats in the process. RaspiBlitz builds in a variety of tools that can help with this, including Lightning Labs’ Loop, and a display showing how much in fees a node has earned from routing.
- Private payments: For privacy gurus, your node connected directly to JoinMarket, which helps to boost the privacy of coins.
Once you’ve set up your node and are comfortable with these basics, the RaspiBlitz comes with instructions outlining more ways for you to continue your hands-on journey down the Bitcoin rabbit hole.


